

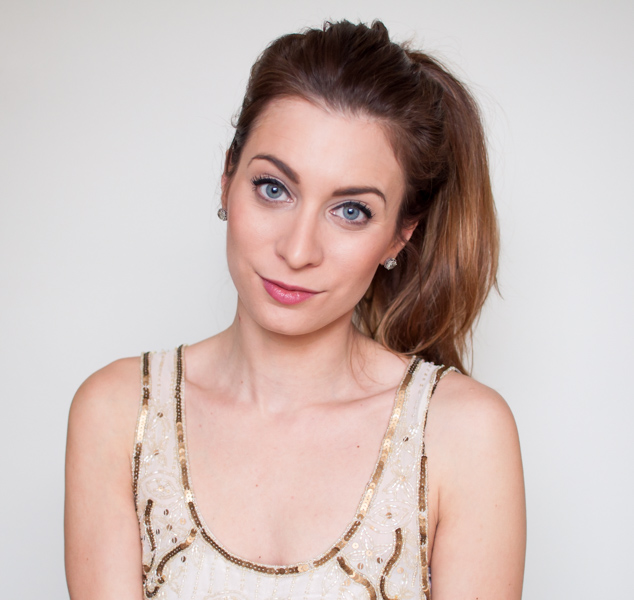
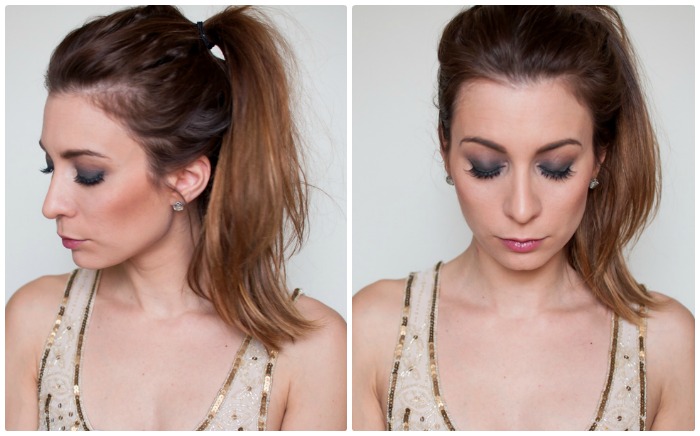
Let me just start up by saying that I am not a makeup person. Don't get me wrong - I love beauty products, and rarely leave the house without a full face and a cat eye drawn on - but when it comes to deviating from my routine, I'm just not that interested. Simplicity is the key word I use to describe my limited makeup looks, so I'm happy to be sharing with you my tried-and-true 3 minute, 3 product easy smokey eye. This stand-by usually comes in handy when I'm frantically rushing from day to night and need something a little more dramatic - in a hurry! Trust me, this smokey eye is so simple that I almost feel like I'm cheating! Read on to see how you can achieve this dramatic eye makeup look in less than 3 minutes, using only 3 products.

The Products:
- A warm brown eyeshadow (I use Mac Cosmetic's 'Wedge')
- Black gel eyeliner (I've been faithful to Mac Cosmetic's fluid line in 'Blacktrack' for years)
- Mascara or False Eyelashes (My personal favourite are the Ardell 102s that you can get from the drugstore)
Products aside, it will be helpful to have an eyeliner brush and 1-2 fluffy blending brushes on hand
I'm starting with my daytime makeup, just to show you how easy this smokey eye is to create on top of what you already have. You can also start from scratch, and apply any sort of foundation, blush and bronzer afterwards.

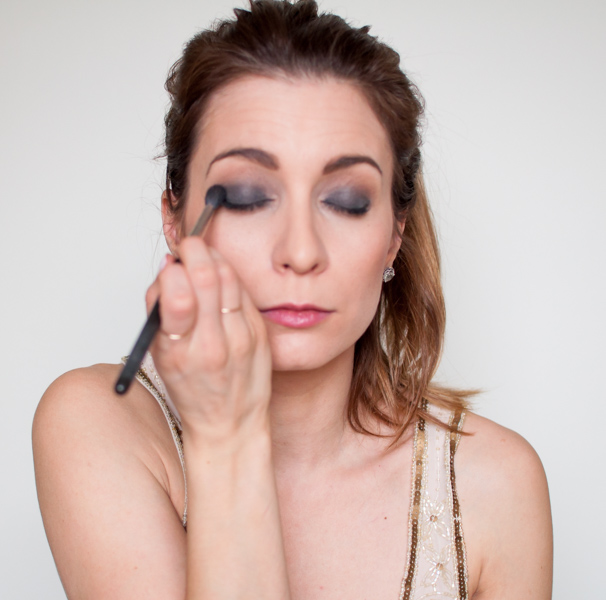
Start by taking your warm brown eyeshadow on a fluffy blending brush, and sweep it right into the crease of your eyelid. I apply a fair amount of product and keep on moving the brush in a sweeping motion over my eyelid crease to make sure that everything is blended, and that the eyeshadow gets blended in to slightly above the crease line.
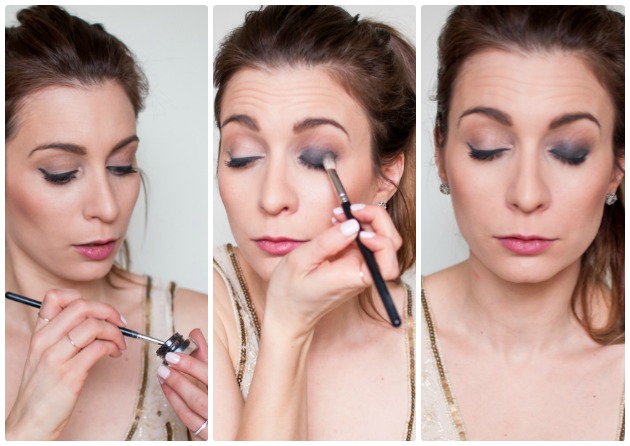
The next step is the most important. Take your eyeliner brush and draw a thick line right at the base of your eyelid, right on top of your eyelashes (just like you would normally line your eyes, but thicker and without extending the line past your eye.) Take a denser blending brush and start smudging that liner out by sweeping the brush back and forth over top of it. As the liner becomes more smudged, gradually move your brush upwards to bring the colour up. This will create a gradient where the darker colour stays at the base of your eyelid, and it gets lighter as you move upwards. Make sure not to bring the colour up past your crease - you want to be able to see the brown that you have just blended out in the previous step!

I like to draw and then smudge the black gel-eyeliner out one eye at a time. Gel eyeliner tends to dry very quickly, so you want to make sure that you start blending out that line as soon as you draw it on.
Once you have blend-blend-blended the black gel liner on both eyes and are happy with the results, go back in with your warm brown eyeshadow and apply it to your crease again using sweeping motions back and forth, right where the black liner ends. This helps the blend the black and brown together, and makes sure that there are no harsh edges of the black eyeliner.
 |
| Disclaimer - this is the face I make while reading my phone, waiting for the last glue to dry |
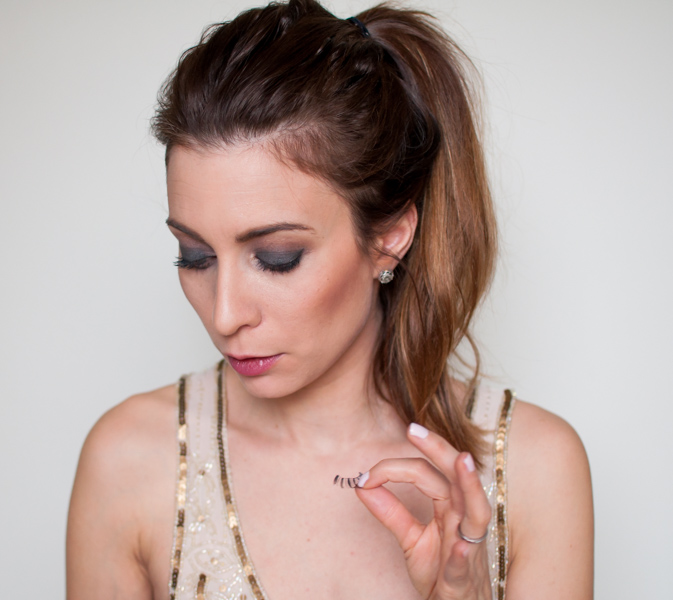
The last and final step is to apply either your mascara or your fake eyelashes. I tend to opt for false lashes, only because I find that it really pulls the look together, is much more dramatic and is just plain easier than applying mascara!
And you're done! Easy, right? I'm telling you - if this Noob can do it, anyone can! Try out this easy 3 minute, 3 product smokey eye the next time you need to get dolled up in a hurry. Let me know how it goes!
I hope you guys liked this makeup tutorial! I'm trying to expand from my typical fashion posts. Would you like to see more of these in the future? Let me know!
xo Joëlle
Fabulous look Joelle! I love quick smokey eye tips and I'm definitely going to try this out :)
ReplyDeleteKris | www.love-loft-life.com
Thanks Kris, let me know how it goes!
DeleteI usually stay away from dark colours on the lid because they can wash me out, but this is so beautiful I'm going to have to try it! I think adding in the warmth from the brown really helps finish it all off!
ReplyDeleteThanks Nadia! I'm with you - I'm not one for dark eyeshadow usually. I like the how the warmth of the brown helps to make this look a little more wearable!
Delete