Thursday 29 January 2015

An Ode To The Coach Brooke Purse


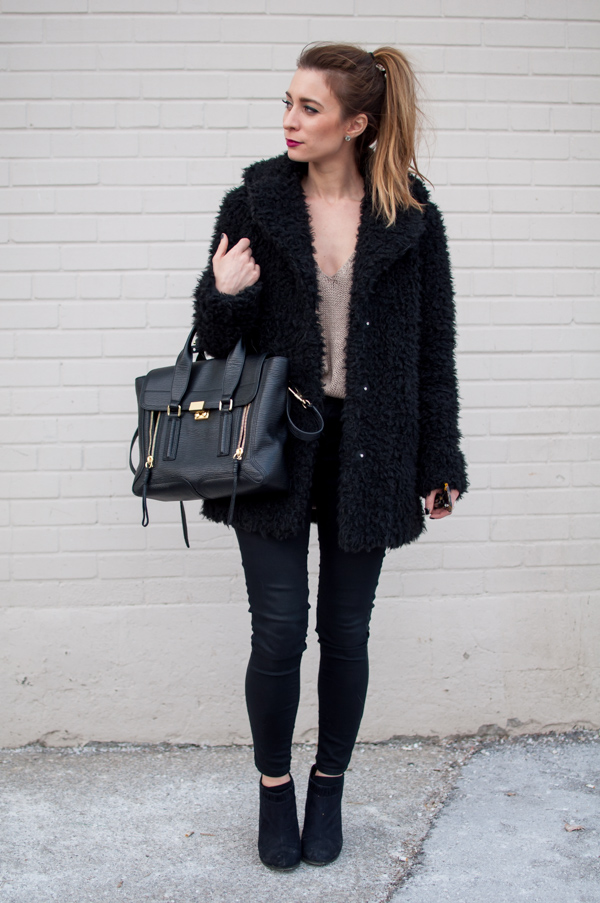
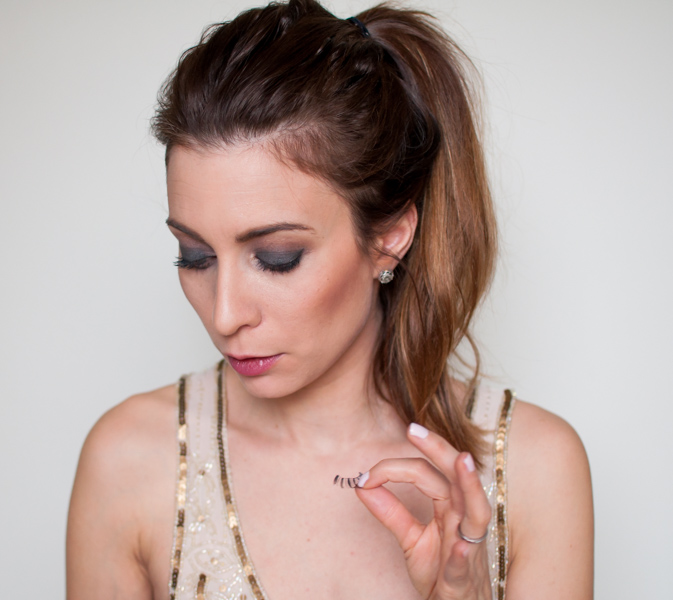
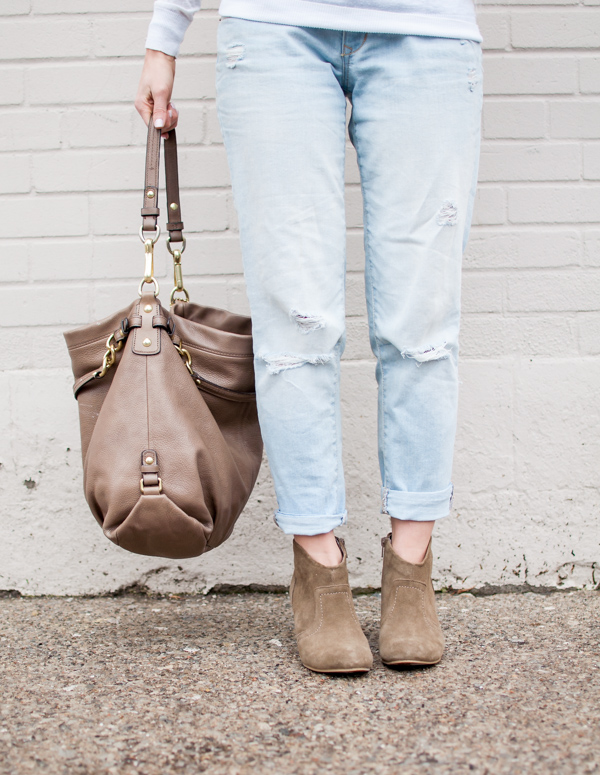
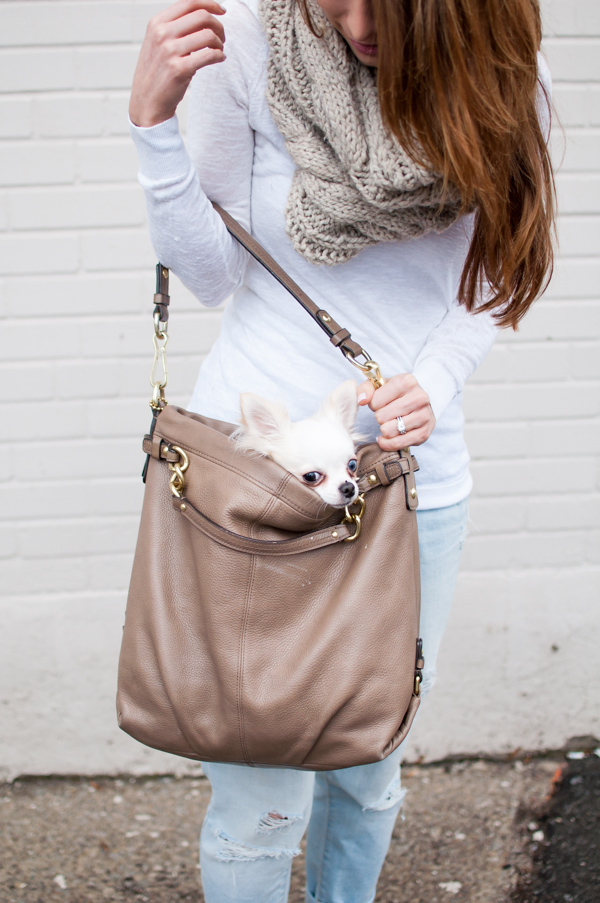
Since I've just recently added a new handbag to my collection (see what it is here), I thought it only fair to take a look back at my very first designer purse purchase: The Coach Brooke Bag.

It really wasn't all that long ago that I first started to take an interest in Fashion, and decided that it was time to invest in a real-life designer purse.  I had never spent more than fifty dollars on a purse before, so to say that the purchase of a high-end handbag was a big deal to me would be an understatement.   I had seen girls wearing their Coach purses at the restaurant where I was working at the time, and thought that this must be the place to start looking.  After scouring the Coach website, I absolutely fell in love with a particular style.  The Brooke was everything I was looking for: it was slouchy, had both long top handles and a shoulder strap, and to me just looked so elegant.  Mulling over the decision for months, I finally decided to take the plunge and buy my special purse.  After waiting in line at the Coach outlet, 30% off coupon in hand, I left with my very first designer handbag.  I managed to score the Brooke handbag for about $130 that day, but I felt like a million bucks.  Finally I had my very own designer purse!  I still remember being so proud to wear that thing around town, and how happy it made me every time I got to use it.


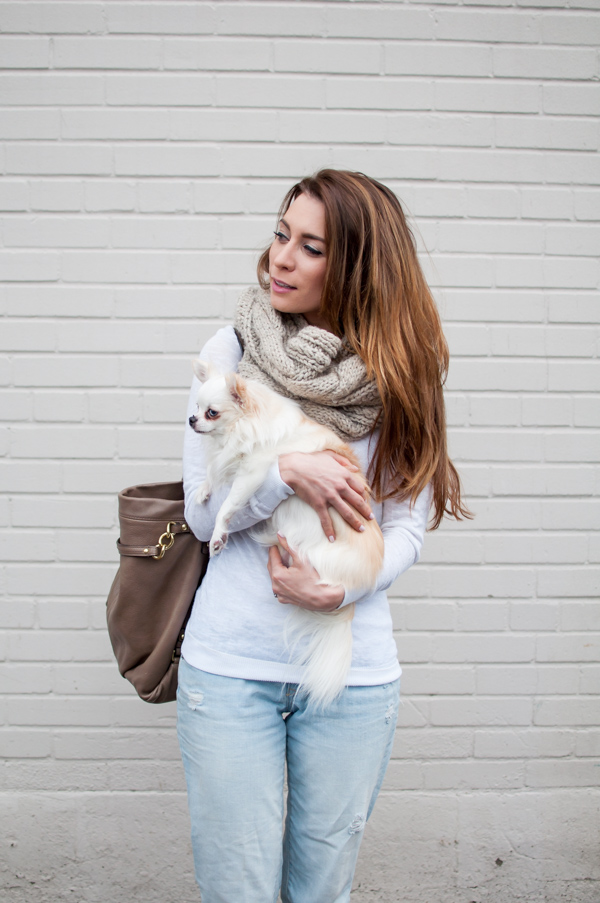
Now I know at the mere mention of a Coach purse, many of you may be tempted to roll your eyes.  I've feel as though I have heard a lot of negative comments about Coach bags; everything from how over saturated the brand is, to even how obtainable they are.  Really - obtainable?  Girls, if you have said anything remotely like this in the past about the Coach brand - or any brand really - I ask you to take a step back and really think about what you're saying.  Does a brand name define who we are?  Absolutely not.  My heart breaks thinking about how my younger self would have felt after hearing such comments about the Coach brand and purse I was so proud of. I would have felt awful, and embarrassed. I have since added a few more handbags to my collection, so my beloved Brooke does not get the same attention that it used to, but that does not make it any less special to me.


The takeaway that I hoped to achieve from this post was not only to pay tribute to my first designer handbag, but also to hopefully get us thinking about how hurtful classifying people based on the brands that they wear and purchase can be.  My Coach Brooke handbag still looks and feels as fantastic as it did all of those years ago when I first bought it.  It makes me happy.  And in the end, that's really all that matters.

Let me know your thoughts!  What was your first big handbag purchase?

xo Joëlle
Share:

Monday 26 January 2015

OOTD - Weekend Uniform + Phillip Lim Pashli


I think that we're all guilty of having a weekend uniform of sorts - you know, one go-to outfit that seems to consume all weekend wear.  I definitely seem to abuse this concept, as I'll find an outfit that I like and wear it the entire weekend.  Loungeing, shopping, brunch, dinner plans - you name it, and I'll find an excuse not to change.  This particular weekend I was drawn to my much-loved big, fuzzy faux-fur coat and just a simple pair of black jeans and a sweater.  I didn't want anything to over shadow my new purchase - the 3.1 Phillip Lim Medium Pashli Satchel!  Read on to hear more about my new purse, and for additional photos and outfit details.

Share:

Wednesday 21 January 2015

Easy Half Up, Half Down Hair Wrap Tutorial


I'll admit it - sometimes my hair is truly the bane of my existence.  Not only do I need to wash it, condition it, and dry it - by the time I get around to styling it, I've either lost the patience for anything elaborate, or just don't have any inspiration left.  Enter my favourite lazy-girl hairstyle: The half up, half down hair wrap that adds some romance and whimsy to your style and best of all, takes all of 5 minutes to do!  I've worn this easy hairstyle with a dress, and also with comfy leggings and a sweater - it always works.  Check out how to achieve this simple half up, half down hair wrap for yourself!


This hair wrap works well with both straight and curly hair, but I prefer it with curly hair.  I've gone ahead and curled my hair with a straightener to get things started.  Be sure to check out my my tutorial on how to curl your hair with a straightener here.


As always, I like to give my hair a bit of a tease at the root to get a little more volume.  Call me an old Italian lady at heart, but I've gotta do it!


Take an elasticized headband, and place it over the crown of your head, resting it right at the base.  The headband should go over all of your hair, and be secure on your head.


Grab the first few pieces if hair on one side of your head and start wrapping them around the base of your headband. Make sure the entire base of your headband is completely hidden with your first few layers of hair on one side.


Repeat the last step on the other side of your head, grabbing pieces of hair around your face and wrapping them into the base of the headband.


At this point, I like to smooth out the hair on the crown of my head to tame any fly-aways or loose hair that may have sprung up when wrapping.


Guess what - we're done! This is honestly one of my simplest hair styles that always makes me feel put together.  It also lasts all day, which is a huge plus!


What do you think about this half-up, half-down hair wrap?  Do you have a simple hairstyle that you tend to use frequently?  Let me know!

xo Joëlle
Share:

Monday 19 January 2015

OOTD - Black Over Coat + Mustard Accents


Is there anything better than a timeless coat?  As much as I've been having fun this season with faux-fur, I really enjoy the clean lines of a classic wool coat. This is an outfit that has been on repeat pretty much all weekend on account of it's simplicity and warmth.  I subbed out my favourite black beanie for a bright mustard, and I love the pop of colour it brings to an otherwise very neutral outfit - plus the fact that it matches my weekend flowers doesn't hurt!  Read on for outfit details and more photos.


Share:

Friday 16 January 2015

How to Take Instagram Photos - My Tips & Tricks


One of the most asked question that I get e-mailed to me is in regards to my Instagram photos - specifically how I take and edit the Instagram photos in my feed.  I love getting your feedback and, while I'm certainly not an expert, I do enjoy taking and editing photos for my Instagram. My pattern for photos is pretty consistent, and I've developed a few tips and tricks along the way that I would love to share with you.

Wipe off your Phone's Camera Lens


It seems insignificant, but cleaning your phone's camera lens before you take a photo makes an enormous difference in the clarity and crispness of a picture.  I try to carry a fibre less cloth for this exact purpose, but honestly even just giving the lens on my phone a quick wipe with my shirt before I take a photo with my phone makes a world of a difference.

Take Every Photos in Natural Daylight


After wiping the lens of my camera, making the conscious decision to take every photo that I post on Instagram in daylight has made the biggest difference in the quality of my pictures.  Shooting in daylight gives you a sharper image, more vibrant colours and generally a more visually appealing photo.  This can be hard during the winter months, so I will generally either take the majority of my Instagram photos during the weekends or when I'm out and about on my lunch break.  After getting the perfect photo on my phone, the next thing that I do is some quick edition before I post to Instagram.

It's All About Your Apps


Gone are my days of slapping a generic Instagram filter onto a photo and posting.  Now I rely on a few other apps to get a more subtle effect for my pictures - specifically VSCO Cam.  Seriously, if you're an Instagram addict like myself and don't have this powerful editing app then I insist that you stop reading and download it immediately!  VSCO cam is incredibly popular for it's unique filters that give your photos a professional quality, and the ability to control the intensity of the filter.  I tend to use S2 and S3 the most, since they give a brightness to photos and saturate the colours nicely.  You can also do some basic editing such as adjusting brightness, contrast and temperature - among many others.  I also have a few other photo editing apps on heavy rotation: Diptic for creating collages, SquareFX for cropping photos into the Instagram friendly square, and Facetune for perfecting a selfie.

Don't Be Afraid to Ask For Help

I feel as though the quality of my Instagram photos increased tenfold when I basically lost all shame in asking people to take photos for me.  I'm extremely lucky to have an incredibly patient husband who takes most of my photos without too much fuss, but I have also had friends take outfit shots when we're out and about - and have even had my mom teetering on a chair to take an aerial shot from above.  You feel silly asking at first, but having the people around you take photos for you is incredibly helpful in the quality and diversity of the images that you can produce  Plus in my experience friends and family are happy to be included, and it's fun!

Tag Relavant Brands

My last tip that I try to use for all of my photos is to tag any relevant brands that are being used in the picture.  For example, in the photo below I tagged Chapters Indigo as the mug since that is where I got it from.  Tagging relevant brands not only lets your followers know where your purchased any clothing or items in your photos, but also automatically includes your photo into the 'tagged photos' tab of that particular account, giving your picture some more exposure.  Tagging brands also alerts them that you have posted a photo featuring one of their items, and they may chose to repost the photos on their own Instagram account- huge exposure, which leads to more followers!


There you have it, my Instagram practices that I use with every photo posted.  What are some of your best Instagram tips?  Please share with me, as I would love to know! Also if you aren't already, please follow me on Instagram - I would love to get connected with you!

xo Joëlle
Share:

Monday 12 January 2015

OOTD - Vintage Faux Fur Coat


Happy Monday Noobs!  It's gearing up to be another cold week here in Toronto, but I can't complain too much - it is January after all! It's hard to muster up the creativity to think of new outfits when it's so cold out, since all I want to do is hide underneath my parka.  Having some fun with different coats is my way to play with my style, and this vintage faux-fur jacket is no exception.  Faux fur is everywhere nowadays, but what drew me to this jacket is the quality - it's so soft, it keeps me warm, and doesn't look cheap at all! Add one of my beloved hats, and I'm ready to take on the cold weather - sans parka!  Read on for all outfit details and additional photos.
Share:

Friday 9 January 2015

1 Year Blog Anniversary!


Okay, so I'm a bit late with my 1 year anniversary post of La Petite Noob.  My official start date was December 14th, 2014 so while I've missed the exact anniversary by almost a month, I still wanted to devote a post to it since it's a huge milestone for me.  When I first started La Petite Noob a year ago, I had absolutely no idea what a huge part of my life this blog would become - nor how personally fulfilling I would find writting it would be!  I still can't believe how much fun I've had developing my little internet space, or how many awesome opportunities and situations have come of it.  Looking back, these are a few that really stick out:

Guest Blogging for Wonder Forest


I have been an avid follower of Dana's for years now and her amazing blog Wonder Forest, as well as her helpful blogging tips and tricks, were instrumental in helping me create La Petite Noob.  When I first applied to become a contributor, I figured that it was just a shot in the dark - I had only been blogging for a few months, and thought that there was no way a huge blogger like Dana would ever consider me.  I will be forever grateful that she took a chance on me and my blog and not only gave me so much exposure, but also forced me to be creative in creating content for her.  I don't know if you're reading this Dana, but if you are - thank you, thank you, thank you!

Lauren Conrad's Chic of the Week


I seriously couldn't believe it when I scrolled through my 'Bloglovin feed to see my photo listed on her blog, saying that I had been named her Chic of the Week.  I've always loved Lauren Conrad since the beginning of her career (team LC!), and was beyond honoured to be featured on her incredible lifestyle blog.  It sounds nerdy, but I still sometimes go back and re-visit the feature article just to get that giddy feeling again!

Connecting with Fellow Bloggers


Whether it be through blog comments, Instagram conversations, or even in real life, meeting and interacting with all of you has been the absolute best part of this whole journey.  Every single comment gives me the warm fuzzies, and I am constantly drawing inspiration from your blogs.  I'll admit, the thought of putting myself out there on the internet was a huge fear and was the main apprehension that held me back from creating La Petite Noob for so long.  Little did I know that the blogging community is made up of incredible, supportive, and generally just all around lovely individuals and I am proud to be included!  


It's hard to think that I've been blogging at La Petite Noob for an entire year now - the time really has flown by!  The journey has been incredible, and I want to thank you all so much from the bottom of my heart for following along with me. I'm excited to see what the future holds for this space, and I'm grateful to have you all along for the ride!

xo Joëlle
Share:

Wednesday 7 January 2015

3 Minutes, 3 Products - Easy Smokey Eye Tutorial


Let me just start up by saying that I am not a makeup person.  Don't get me wrong - I love beauty products, and rarely leave the house without a full face and a cat eye drawn on - but when it comes to deviating from my routine, I'm just not that interested.  Simplicity is the key word I use to describe my limited makeup looks, so I'm happy to be sharing with you my tried-and-true 3 minute, 3 product easy smokey eye.  This stand-by usually comes in handy when I'm frantically rushing from day to night and need something a little more dramatic - in a hurry!    Trust me, this smokey eye is so simple that I almost feel like I'm cheating!  Read on to see how you can achieve this dramatic eye makeup look in less than 3 minutes, using only 3 products.


The Products:
  • A warm brown eyeshadow (I use Mac Cosmetic's 'Wedge')
  • Black gel eyeliner (I've been faithful to Mac Cosmetic's fluid line in 'Blacktrack' for years)
  • Mascara or False Eyelashes (My personal favourite are the Ardell 102s that you can get from the drugstore)
Products aside, it will be helpful to have an eyeliner brush and 1-2 fluffy blending brushes on hand


I'm starting with my daytime makeup, just to show you how easy this smokey eye is to create on top of what you already have.  You can also start from scratch, and apply any sort of foundation, blush and bronzer afterwards.


Start by taking your warm brown eyeshadow on a fluffy blending brush, and sweep it right into the crease of your eyelid.  I apply a fair amount of product and keep on moving the brush in a sweeping motion over my eyelid crease to make sure that everything is blended, and that the eyeshadow gets blended in to slightly above the crease line.


The next step is the most important.  Take your eyeliner brush and draw a thick line right at the base of your eyelid, right on top of your eyelashes (just like you would normally line your eyes, but thicker and without extending the line past your eye.)  Take a denser blending brush and start smudging that liner out by sweeping the brush back and forth over top of it.  As the liner becomes more smudged, gradually move your brush upwards to bring the colour up.  This will create a gradient where the darker colour stays at the base of your eyelid, and it gets lighter as you move upwards.  Make sure not to bring the colour up past your crease - you want to be able to see the brown that you have just blended out in the previous step!


I like to draw and then smudge the black gel-eyeliner out one eye at a time.  Gel eyeliner tends to dry very quickly, so you want to make sure that you start blending out that line as soon as you draw it on.


Once you have blend-blend-blended the black gel liner on both eyes and are happy with the results, go back in with your warm brown eyeshadow and apply it to your crease again using sweeping motions back and forth, right where the black liner ends.  This helps the blend the black and brown together, and makes sure that there are no harsh edges of the black eyeliner.

Disclaimer - this is the face I make while reading my phone, waiting for the last glue to dry

The last and final step is to apply either your mascara or your fake eyelashes.  I tend to opt for false lashes, only because I find that it really pulls the look together, is much more dramatic and is just plain easier than applying mascara!


And you're done!  Easy, right?  I'm telling you - if this Noob can do it, anyone can!  Try out this easy 3 minute, 3 product smokey eye the next time you need to get dolled up in a hurry.  Let me know how it goes!

I hope you guys liked this makeup tutorial!  I'm trying to expand from my typical fashion posts. Would you like to see more of these in the future?  Let me know!

xo Joëlle
Share:

Monday 5 January 2015

OOTD - Zara Plaid Blanket Scarf + Hunter Boots


I know, I know. I said in my last post that I was done with the trademark 'white wall' that I shoot all of my outfit photos in front of - and lo and behold here it is again!  In my defence, I had lots of fun areas scouted to add some variety to the blog but mother nature had other plans.  This weekend was a strange one here in Toronto, and the weather alternated between freak snowstorms, freezing rain and mild showers - horrible conditions for taking photos without looking like drowned rat! It's because of the adverse weather that this Noob grabbed her Hunter boots, threw on a weekend outfit and marched herself right back in front of the white [covered] wall to take a few photos before running errands.  I tend to gravitate towards styles that I'm comfortable with when the weather is bad - and I love plaid and stripes, especially when the plaid is coming from a super cozy Zara blanket scarf!  Read on for additional photos and all outfit details.


Share:
© La Petite Noob | A Toronto-Based Fashion and Lifestyle Blog. | All rights reserved.
Blog Layout Created by pipdig